
|
 10-15-2009, 08:11 PM
|
#1 |
|
Trunk Monkey

Join Date: Jun 2007
Location: Home
Posts: 5,708
|
I know most of us here have vehicles with factory plastic headlights (especially Foxes and SN95's), that are notorious to hazing/yellowing over time, and exposure to the elements. I've taken some techniques that I've read about, and combined them with some of my own ideas, which turned out very good results. Here's what you'll need....
SOS soap pads ($1 at Dollar general) 1 small pack of 1500 grit wet/dry sandpaper ($3 at Oreilly's) 1 bottle of plastic polish (I recommend Meguiars Plast-X $5) Terry cloth towel Old spray bottle with mixture of dish soap and water (to aid in wet sanding) Optional:Buffing/polishing wheel kit for cordless drill ($10 at Home depot) Here's the lights before being touched, 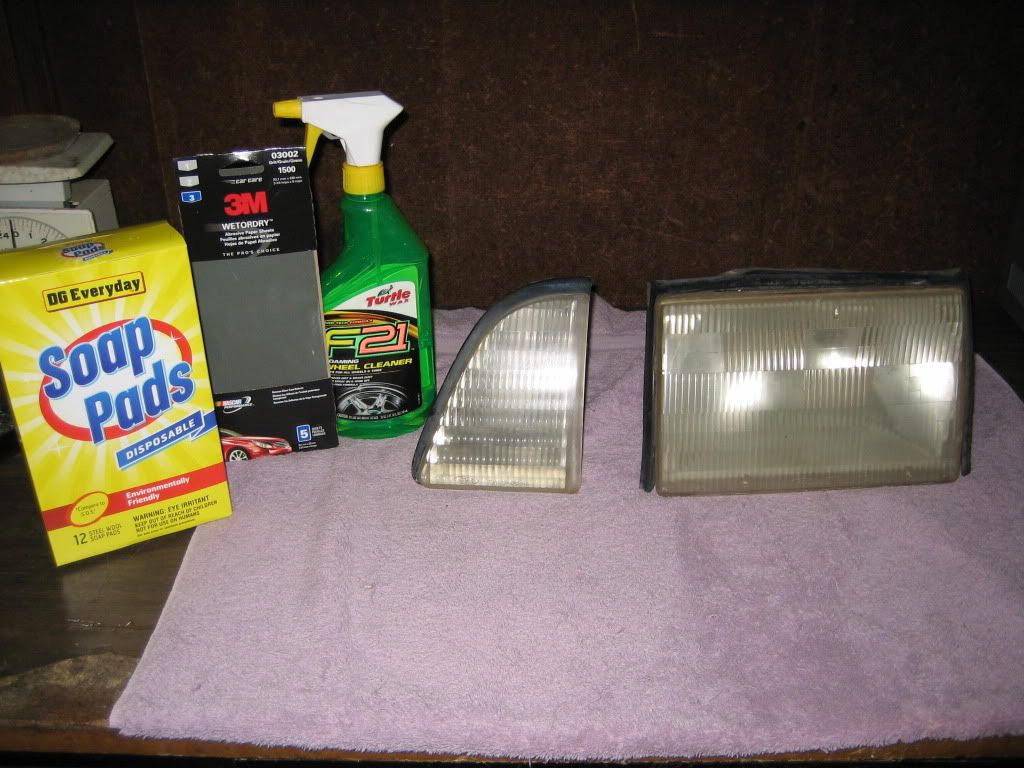 After initial scrubbing with SOS pad to remove the yellowed, oxidized layer.. 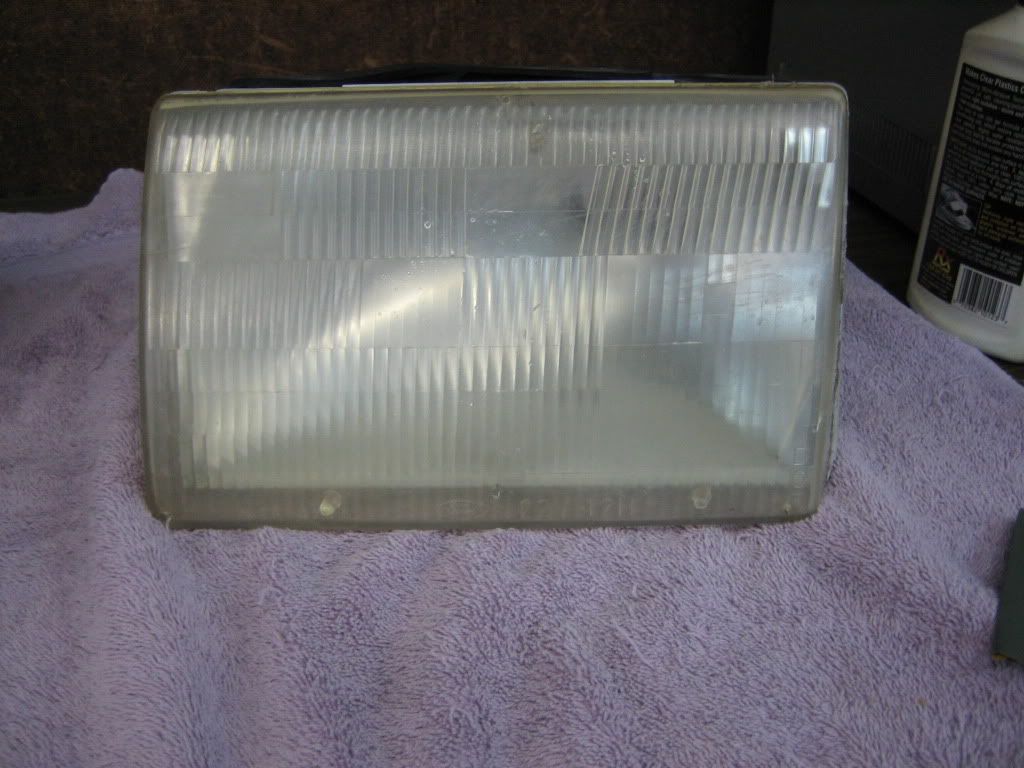 after wet sanding with the 1500 grit. Be sure to keep them wet with the spray bottle while sanding, when the sandpaper starts to "glide" across the surface, they're sanded enough.... 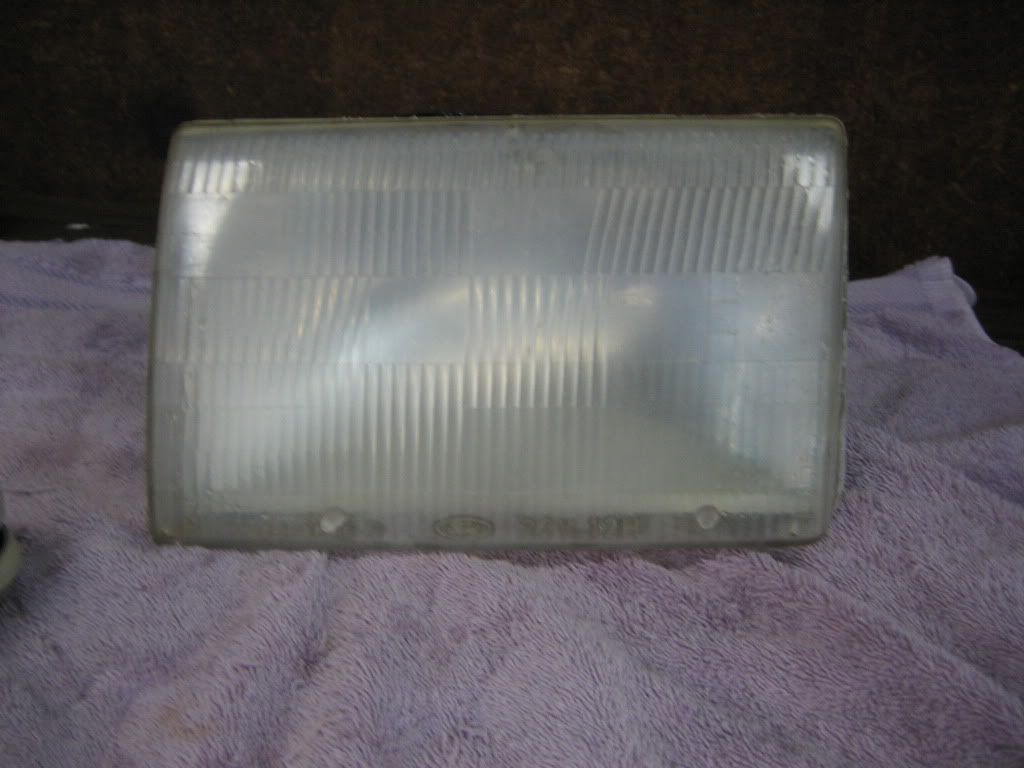 ..now, apply a small amount of the Plast-X to the terrycloth towel, and polish in circles like waxing a car. You'll start to see the results immediately... 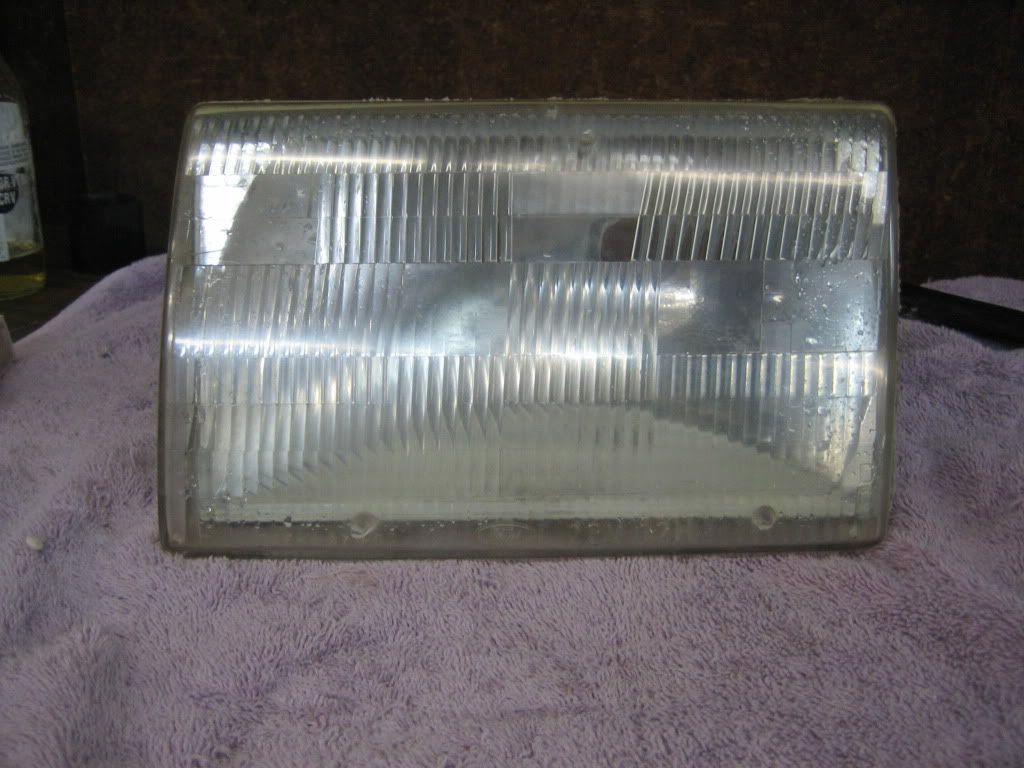 Now for the optional final step (which I REALLY recommend!). The buffing wheel and white plastic cleaner/polish stick from the polish kit... 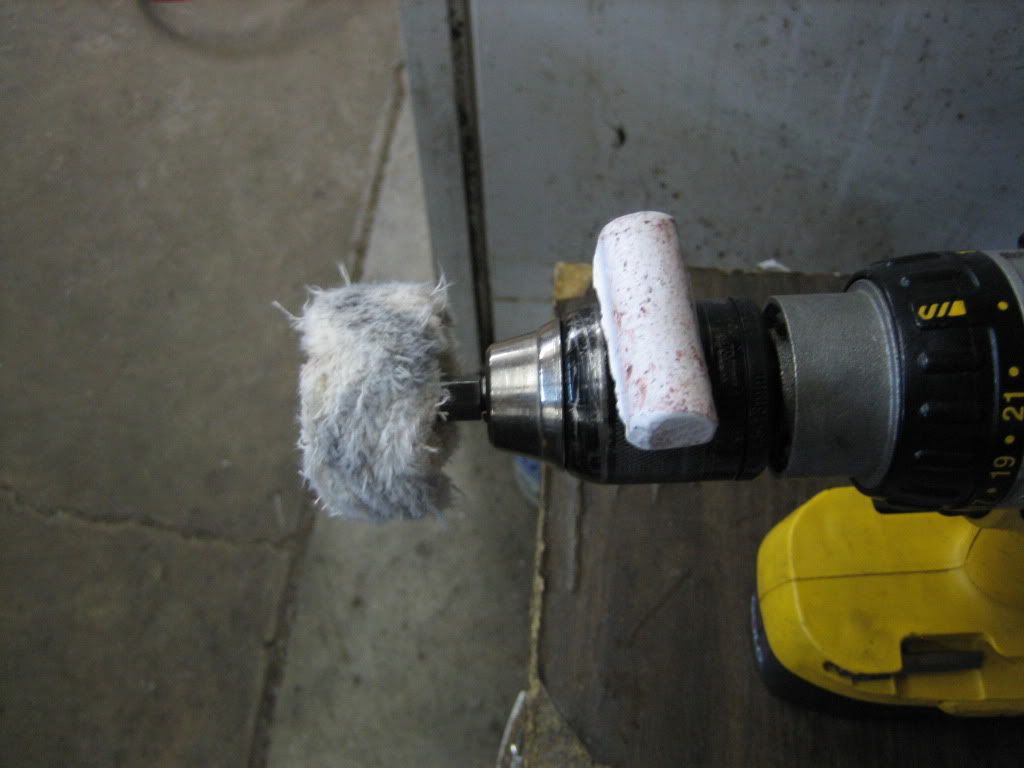 ...if you've never used this kind of buffing wheel, all you do is spool up the drill, and stick the polish to it with medium pressure. It doesn't take much polish to get on the buffing wheel to do the job. After the polish is in the buffing wheel, run it in straight, overlapping lines back and forth, again using medium to light pressure. This step REALLY brings them to an almost new condition! 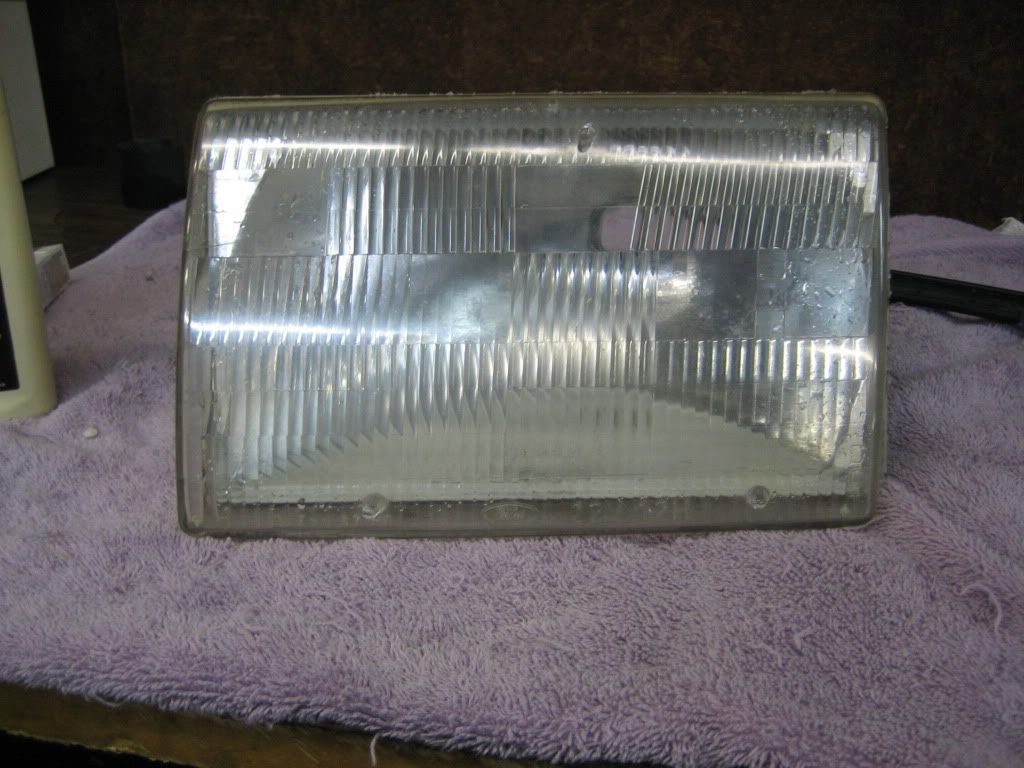 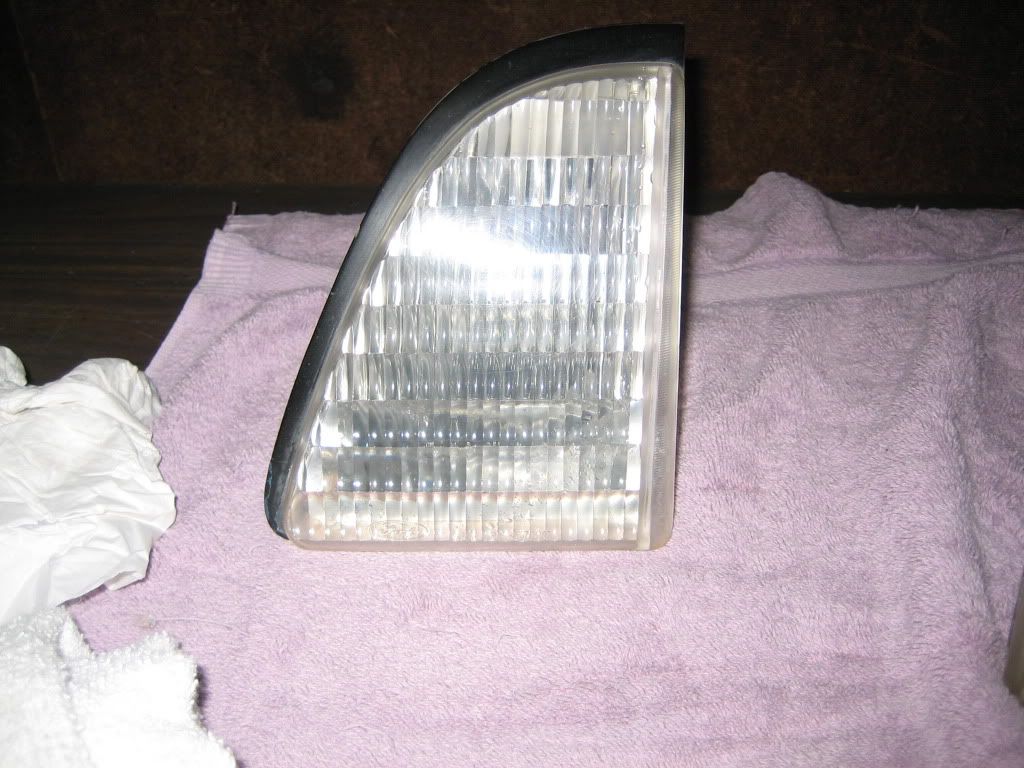 Before and after comparison.. 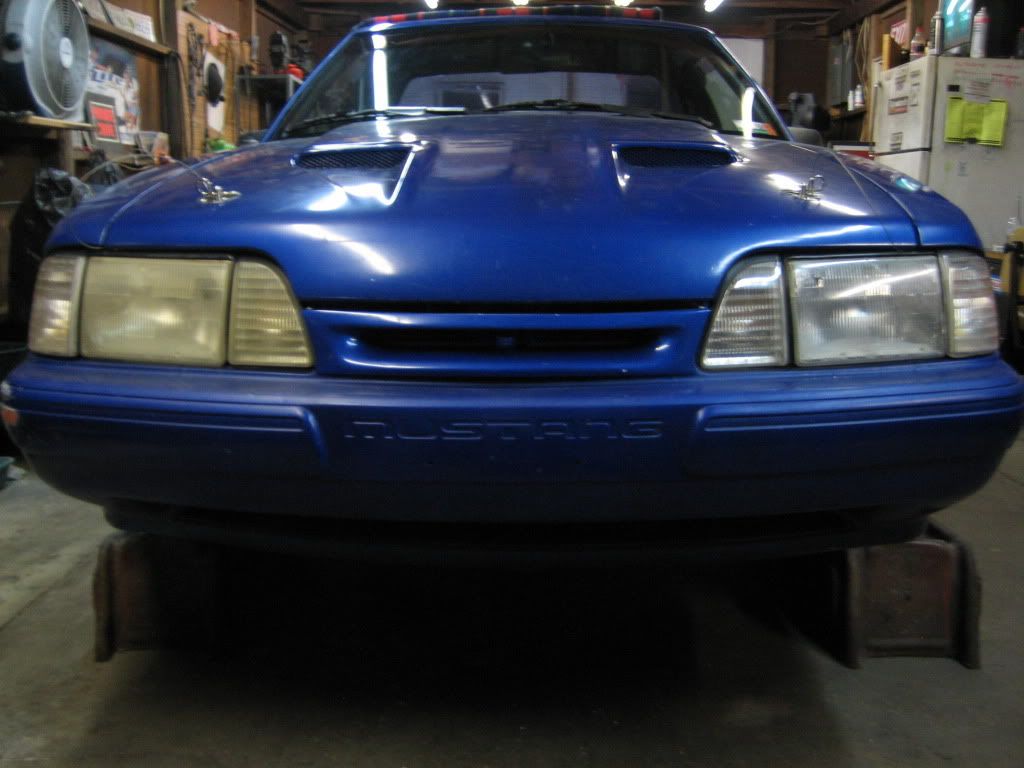 Time spent, roughly 30 minutes per side, of course this depends on the condition of the lights when you start too. 
__________________
Eric 89 LX Coupe-Juiced 01 Lightning-Boost 06 TBSS |

|

|
|
10-15-2009, 08:53 PM
|
#2 |
|
Senior Member

Join Date: May 2008
Location: Sand Mountian
Posts: 180
|
Looks Great Eric
__________________

|
|
|
|
|
10-15-2009, 08:58 PM
|
#3 |
|
Administrator
Join Date: Dec 2004
Location: Huntsville, AL
Posts: 14,774
|
Nice work.
__________________
1998 Mustang GT Coupe - World's Slowest Racecar 2005 Toyota 4Runner SR5 V8 2013 Volkswagen Jetta Sportwagen TDI |
|
|
|
|
10-15-2009, 09:18 PM
|
#4 |
|
Beach Bum

Join Date: Dec 2004
Location: In the sun!
Posts: 2,846
|
|
|
|
|
|
10-15-2009, 09:44 PM
|
#5 |
|
Trunk Monkey
Join Date: Jun 2007
Location: Home
Posts: 5,708
|
Thanks!

__________________
Eric 89 LX Coupe-Juiced 01 Lightning-Boost 06 TBSS |
|
|
|
|
10-16-2009, 05:25 AM
|
#6 |
|
Senior Member

Join Date: Jun 2008
Location: Pell City, AL
Posts: 418
|
Made a huge difference!
I used the chemical stuff on my wife's civic about a year ago and it's still holding up pretty well. Basically do the same steps you did but instead of a final polish/buff, you just wipe it down with the provided cloth and it becomes clear and hardens that way. Nice way to save some bucks! |
|
|
|
|
10-16-2009, 08:55 AM
|
#7 |
|
日本語

Join Date: Jul 2005
Location: Montgomery
Posts: 1,661
 |
thats pretty cool
I just wet sand 2000 grit till all the yellow is gone then I hit it with a few coats of clear
__________________
Choadiemcsmallballs |
|
|
|
|
10-18-2009, 09:57 PM
|
#8 |
|
Trunk Monkey
Join Date: Jun 2007
Location: Home
Posts: 5,708
|
Finished product (right side looks cloudy from moisture)...
  and finally a before and after of the overall effect... before... 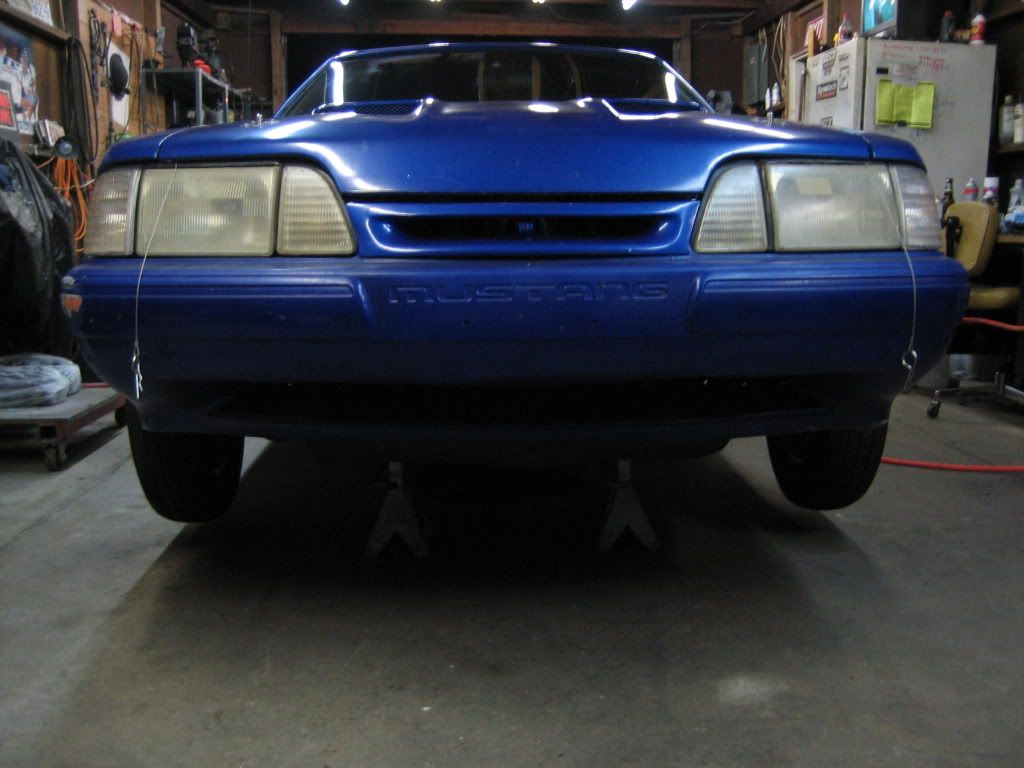 after... 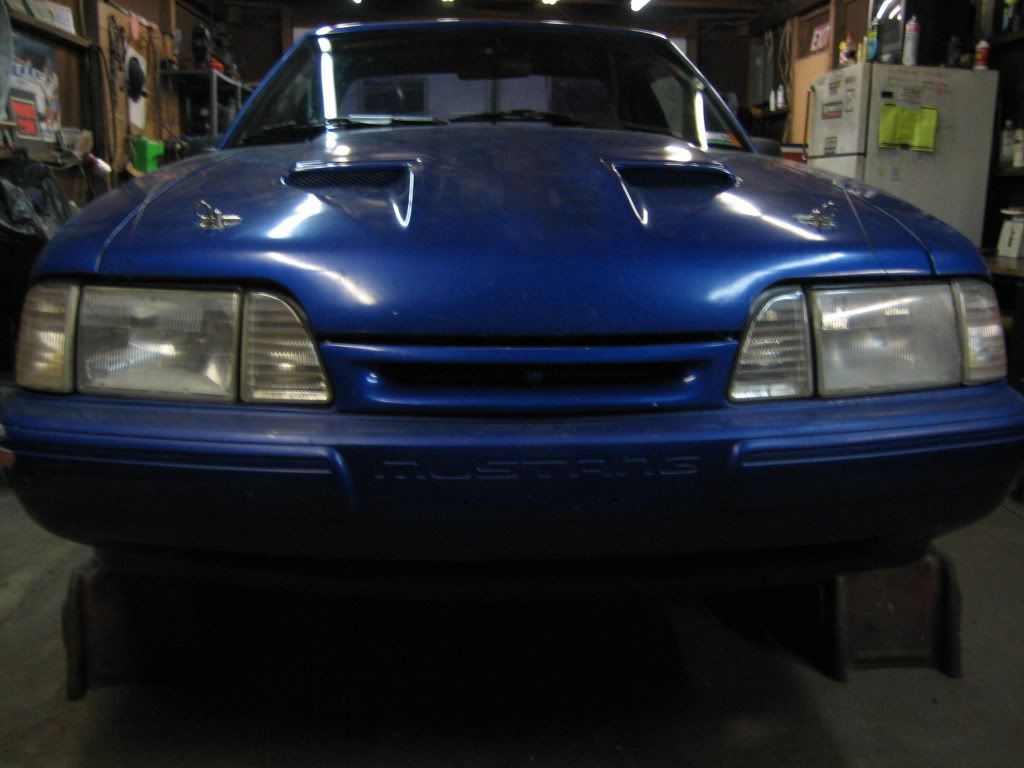 and yes, my car needs to be washed. 
__________________
Eric 89 LX Coupe-Juiced 01 Lightning-Boost 06 TBSS |
|
|
|
|
10-19-2009, 05:52 AM
|
#9 |
|
Senior Member

Join Date: Aug 2007
Location: On a mission....
Posts: 588
|
 Kittah paws................ Kittah paws................
__________________
 89 LX Coupe,306 89 LX Coupe,306 2001 Ford F150 Lightning 
|
|
|
|
|
10-19-2009, 06:21 AM
|
#10 |
|
Senior Member
Join Date: Oct 2007
Location: Wedowee, AL
Posts: 515
|
I usually wipe and clear coat them. They will look new.
|
|
|
|
 |
|
|


 Linear Mode

